Living to Eat While Eating to Live

Adventures in Paleo Cooking


Leave a comment

Seasons of Change

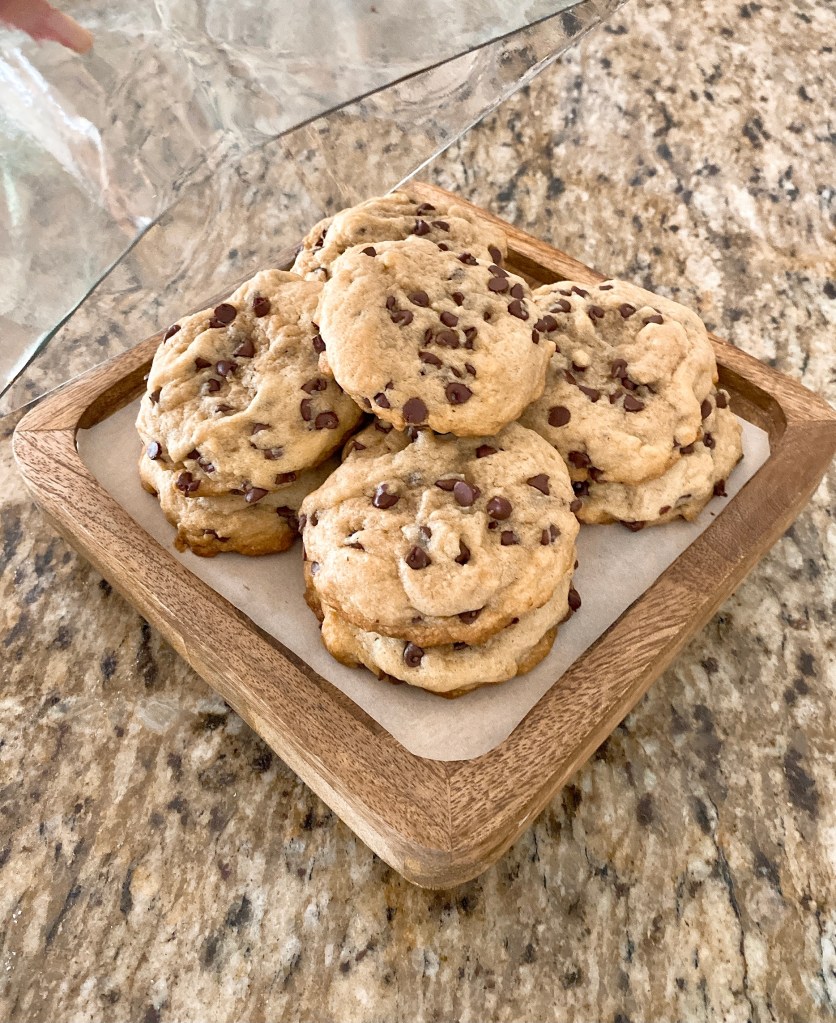
You know you’re an adult when you have everything needed for chocolate chip cookies on hand at any given time.  Or maybe that’s when you know you’re a mom.  Either way, it’s a great start to my first post in a really long time because it sums up the theme of my most recent food endeavors.

Gone are the days of intricately planned out meals and Sunday afternoons spent concocting meals for the week while listening to The Head and the Heart and sipping wine.  Nowadays, the only things I listen to in my kitchen are Disney movie soundtracks and the only thought out meal I’m concocting is when I’m trying to figure out how to get my kiddos to eat a freaking vegetable.  Even still, cooking (and now baking, apparently) is still a mainstay in my life and in ways it is more important now than ever.  Nothing beats the delight I get when I cook a wholesome meal for my family to enjoy.  Extra points if it was something I either made off the top of my head, made from pantry items I had on hand, was made using produce on the verge of going rotten or made with very minimal dishes/mess. 

With kids or not, right now is a particularly exciting time in any home or professional chefs’ life as we transition into Fall.  Summer meals are hard to plan – I know I’m always thinking of ways to NOT turn the oven on, how to keep things really light yet satisfying and wondering how many more salad ideas I can come up with.  With the return of Fall comes soups, stews, casseroles and most importantly, the SLOW COOKER!  Comforting, satisfying, warm, slow foods will soon be the foundation of the meals I make for my family and I am SO excited for it.  And to top it off, I am finally part of a local CSA and will have a weekly farm share to keep me on my toes and challenge me in the kitchen.  I’m hoping that between the CSA and my need to do something creative I will post at least somewhat regularly on this blog.  Thanks for joining along! 😊

Advertisement


2 Comments

Scotch Eggs!!!!

Photo credit: Betty Crocker

Photo credit: Betty Crocker

! MY OWN PHOTOS COMING SOON !

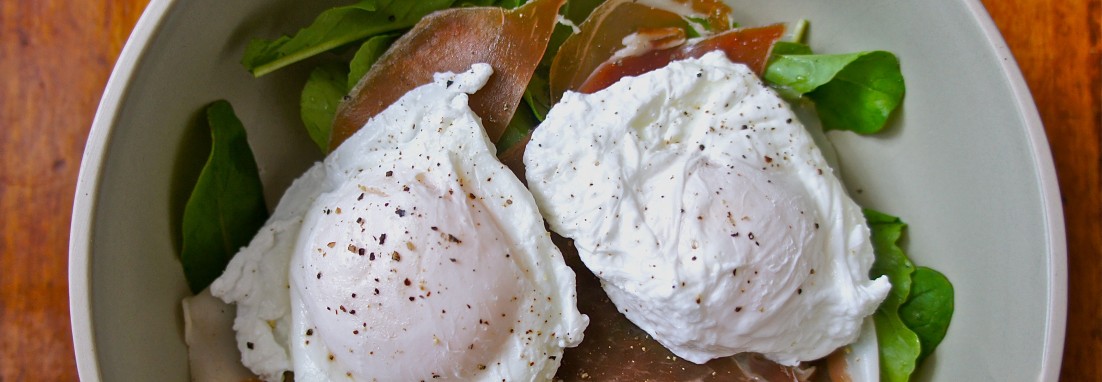
After a hiatus of over a year (I’m embarrassed, really) and some pretty intense life changes, I can’t think of a better way to come back to the blogosphere than with the topic of Scotch eggs!!  I would love to tell you that these are a tradition from my Mom’s side of the family that goes way back to the early 1900s.  While I am 25% English (and 25% Scottish even though, despite the name, Scotch eggs are English, not Scottish – but I’ve got both in me!), they COULD be passed down from generations of WASPs, unfortunately that is not even close to the truth, and I found them as a result from my love of all things paleo + meaty + eggy + breakfasty – obviously.

Anyone that knows me knows that I eat hard-boiled eggs for breakfast every weekday and have for the last 3-4 years.  I have these phases every couple of months where I get so sick of them and almost grossed out and so I switch it up for a week just to come crawling back to them filled with apologies and begging for forgiveness.  So although traditional Scotch eggs are not paleo, the concept of them is SO up my alley and they are so easy to paleo-ify.

Now, I could do a post solely on the art of properly boiling an egg – don’t laugh, it is definitely an art – but instead I will just include a few words about it here, since a boiled egg is the heart of a Scotch egg.  When most people imagine a hard-boiled egg they think of the greenish-yellow, sulfur-smelling, dry, chalky excuse for protein.  While that disappointing version does still have the same nutritional value as the ones I make, shouldn’t we enjoy our on-the-go eggs?  And not just enjoy, but even look forward to them?  The ones that I make have a creamy yolk that is bright orange and they don’t smell awful either.  Here’s how:  cover your eggs in cold water in a pot big enough so they aren’t super crowded.  Heat the pot on high heat and as soon as they start to boil, turn off the heat and set the timer for 10 minutes.  Once the time is up transfer the eggs directly to an ice bath to stop the cooking process.  It’s that easy!  Some tips that you can try are adding baking soda to the water once it boils (this is supposed to help the peeling), or when the eggs are done cooking, tap them on the counter to crack them before placing them in the ice bath – this also can help with the peeling process.  10 minutes is what makes the perfect egg for me (i.e., fully cooked white; bright, creamy yolk with a pinpoint-sized dot of runniness in the middle), but you can play around with it if you like it a little more or less hard.  Once you have 12 perfectly boiled eggs peeled and ready then that’s the first step to making these Scotch eggs!

This recipe here is a combination of a few of my favorites mixed in with some ideas from my own head.  The optional part below, which is taken from the genius that is Mel at The Clothes Make the Girl, one of my most respected paleo blogs, is a really mind-blowing twist on “breading”.  The eggs are wonderful either way – the breading method making them take a little longer.

A couple of things to mention regarding the meat/seasoning –

I’ve made these with both ground pork and with Italian sausage with the casing removed.  I’ve also used half sausage / half ground beef.  These will be great no matter what combination you go with.  I wouldn’t recommend using ground turkey for this recipe because you really need a sturdier meat that can hold onto the egg and keep its form when plopped onto a cookie sheet.  Turkey is just too soft and won’t work well – stick to any combination of pork and red meat.   Related to this – what you use for meat may change how much seasoning you add.  If you use straight up ground pork then you may need more seasoning as opposed to using hot or sweet sausage which already has seasoning.  I say the more the better.  The core of these treats is a hard-boiled egg which can be pretty bland without  S+P sprinkled directly on it, so I usually overseason the meat a bit to compensate for that, and when you take a bite of it all that animal product goodness it evens out and causes a near food-gasm.  Experiment depending on the meat you use and find a meat to seasoning ratio that works for you!

To make 12 Scotch Eggs:

— Pre-heat oven to 375 degrees and line a baking sheet with parchment paper —

3.5 lbs of ground pork and/or beef and/or sausage meat (casing removed)

3 cloves of garlic, minced

3/4 TBSP salt

1 tsp black pepper

1/4 tsp ground cinnamon

1/2 tsp ground cardamom

1/2 tsp all-spice

1 TBSP fennel seed, crushed with the side of a knife or a mortar & pestle

1/2 tsp garlic powder

dash of cayenne pepper (or more if you want real heat)

1 tsp dried parsley

1 tsp dried oregano

Optional “Breading”

1-2 raw eggs, lightly beaten

6 oz of fried pork rinds, put in food processor until they resemble bread crumbs

Add the meat and all of the spices into a large bowl.  Mix and knead with your hands until spices are well incorporated.  Really get into to evenly mix those spices.  Then separate your meat into 12 even balls — they will need to be good-sized to fit around that egg (this might take some playing-with at first).  Mine were about 2.5 inches inches in diameter.

Once you have all of your balls made it’s time to make the magic happen!  Flatten your ball into the palm of your hand, pressing around the edges until it’s thin and even.  Then place a boiled egg in the middle and wrap the flattened meat around the egg, pinching together the ends where they meet. Roll the meat-covered-egg around between your hands to try and get the meat evenly around the egg.  If you see any egg peaking out just keep pinching and rolling.  Do this to all of your eggs, placing each one on the parchment.

** If you are using the pork rind “breading” — dump the rind crumbs onto a plate in a thin layer.  Roll each ball in the rinds to get a very thin coating , then dip fully into the egg, then back in for another even roll through the crumbs and place back onto the cookie sheet.

Bake them at 375 for 20-25 minutes, depending on size, and for best cooking results turn them over halfway through.  Then turn up the heat to 400 and cook for another 10 minutes or so, until they are brown and crispy.

These are so easy to keep in the fridge and grab for breakfast on the run.  I like to cut them in half and zap them in the micro for 30 seconds, then sprinkle with S&P.  NOM!

ENJOY MY PEEPS! 🙂

Leave a comment

The Best Roasted Cauliflower Soup

SONY DSC

This is my first real colder weather-comfort meal that I’ve made this season.  Although I’m resisting the inevitable end of warm temps, deep-down I’m really excited for scarves, boots and the holidays!!

My clients sent me a cauliflower soup that they wanted me to make, but it wasn’t 100% paleo.  After doing a little research and a little brainstorming, I came up with a hybrid of both a paleo and non-paleo cauliflower soup that is unbelievably satisfying and full of flavor.  The addition of artichoke hearts as a thickening agent comes from Juli Bauer of PaleOMG’s cauliflower soup.  This is a technique she has used (and therefore, I have used) before, recently in the Artichoke Lemon Pesto Pasta with Chicken (Juli’s recipe here).  What really sets this soup apart though, in terms of flavor, is that the cauliflower is roasted in the oven as opposed to just being steamed.  If you made my Savory Oven-Roasted Cauliflower, you know how much a difference is made by roasting with some oil.  I swear I’m not obsessed with cauliflower, it’s just SO versatile and a staple in paleo cooking.

* It might seem like a flavor overload with the addition of bacon AND truffle oil, but I’m really into flavors.  If that is too much for you, then choose one or the other… But to be honest, this soup doesn’t absolutely NEED either of these flavor bombs – it’s really tasty on it’s own!

Ok – it’s recipe and picture time!

Truffle-Accented Roasted Cauliflower Soup

2 heads of cauliflower

3 leeks, cleaned & sliced thin

3 cloves of garlic, minced or pressed

2 tablespoons olive oil

1 tablespoon grass-fed butter

32 ounces of chicken broth (or more, depending on desired consistency)

1 cup artichoke hearts

salt & pepper

8-10 slices of bacon, cooked and crumbled (optional)

truffle oil (optional)

Preheat oven to 350°

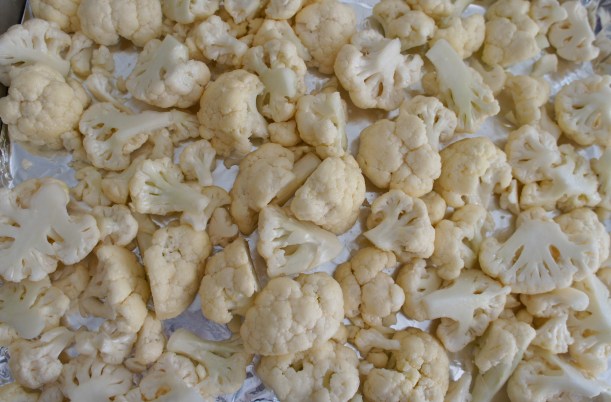
Cut your cauliflower into florets, place in a large bowl and toss with the olive oil and a few shakes of salt.  Transfer in a single layer onto cookie sheet lined with foil and roast for 30 minutes or so, until it is easily pierced with a fork and has some color (stir up the cauli halfway thru cooking).

SONY DSC

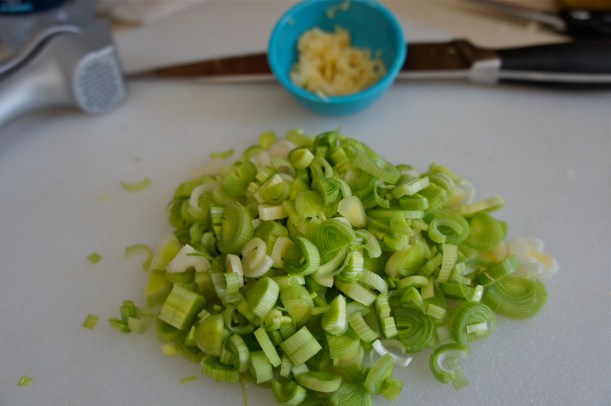
While your cauliflower is roasting, melt the butter in a pot (make it a large one because the rest of the soup will be created in this).  Add your leeks and saute until soft.

SONY DSC

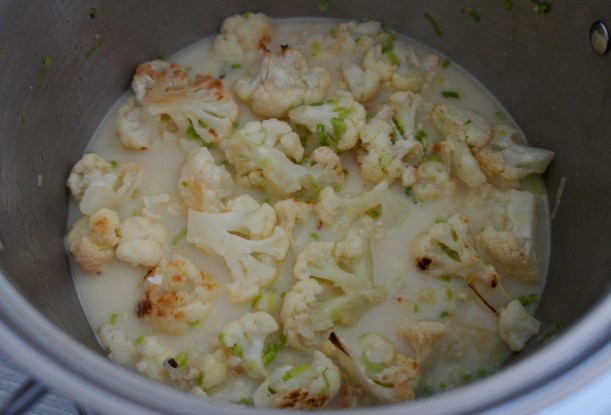
Add the garlic, and once it’s fragrant, add the roasted cauliflower, and chicken broth.  I started with 32 ounces of broth and adjusted later.  Let this mixture simmer for 10-15 minutes.  Then remove about 1/3 of the cauliflower and put it in a separate bowl.

SONY DSC

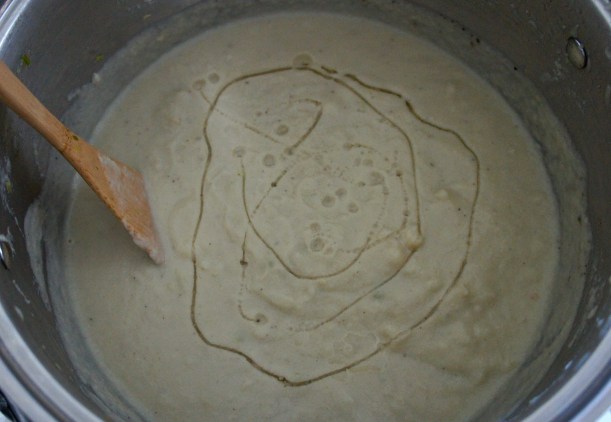
Using an immersion blender, blend your soup until it is mostly smooth but not completely pureed.  At this point, add your artichoke hearts a little at a time until you are happy with the consistency.  I really like the taste of artichoke hearts, so I added them all, and then added more chicken broth to thin it out a little.  Experiment with taste and consistency by adding artichoke and broth until the soup is at your ideal thickness and taste.  Now is also when you can add salt and pepper to taste.  Once you’re happy with it, put back the cauliflower that you had set aside.

This is my favorite part! — once it’s ladled into bowls, add in a drizzle of the truffle oil and/or some pieces of the bacon to finish it off.

SONY DSC

ENJOY!!  🙂

2 Comments

Adult Temper Tantrums and Savory Oven-Roasted Cauliflower

I have a tendency to SOMETIMES make a really big deal out of something small.  This usually only happens in situations where I’ve planned things out perfectly, and then something unforeseen or unfortunate happens to screw up said plan.  See, I’m a chronic over-planner.  There are times when this trait serves me well…. but my experimental adventures in the kitchen are not usually those times.

I spent all of Monday shopping, prepping, cooking and cleaning for my clients, and Tuesday I just had one last thing to make, then I was supposed to be off to deliver the goods.  The last item that I had to make Tuesday morning was this recipe for cauliflower on the grill. I had all my ingredients (which weren’t many) and attempted to get started on it around 9am.  It was then that I realized we were out of propane.  And I FREAKED out ….like really.  Like, crazy person style.  In hindsight I’m a bit embarrassed about my reaction, but this isn’t the first time a reaction like this has come about.  I was on the verge of tears and couldn’t see any easy fix.  The closest Home Depot was 25 minutes away and I didn’t have time for that.  I couldn’t make another recipe with the cauliflower because this grill recipe was the one that I PLANNED on!  I could have easily sped out the door to Home Depot and switched out the propane, and solved it that way (I wasn’t really on a STRICT timeline- my clients are super flexible and understanding).  I could have made a cauli-rice or a cauli-mash that would have been fine.  But in this heated moment neither of those options made sense to me, they both seemed ridiculous and inconvenient.

Afterwards, when I was thinking more clearly, I realized it’s not the exact issue at hand (in this case the lack of propane) it’s that I get so angry at the WHY of the issue, and more at myself for not seeing the issue coming and avoiding it.  I think it’s me being hard on myself than anything else.  Why didn’t I check the propane the night before?  Full on childish temper tantrum….  I’m 29 and have faced some real-deal issues in the past, so this is not acceptable.  Screaming loudly and on the verge of tears over CAULIFLOWER!  COME ON!!  The anger at myself clouds any easy solution in the heat of the moment and I’m completely irrational until I come to my senses.

Since you’re on the edge of your seats about the fate of the cauliflower, I’ll get to that now.  With the help of Google and the fact that I have such a developed kitchen pantry, I found an oven-roasted recipe for them and it turned out UNBELIEVABLE!  My favorite way that I’ve found yet to cook cauliflower!  And I would I never found or tried this recipe if I hadn’t been out of propane!  Funny how it works!

I don’t think that I have to write a paragraph about the lesson I learned in this situation because it’s pretty obvious and elementary.  I did write it down immediately as a blog post idea, so that I can talk about how ridiculous my reaction was in hopes that I won’t do it again.  I’m sort of embarrassed even sharing this with anyone, but it’s so that I can recognize it, hold myself accountable for such a reaction and avoid it in the future.  It had happened countless times before this “incident” and has happened a few times since (this happened last month).  Also, now I can share the recipe and pictures with you!

Image

Savory Oven-Roasted Cauliflower

1 head of cauliflower, broken into florets

1 tablespoon coconut oil or fat of choice, melted

1 teaspoon UNSWEETENED cocoa powder

1/2 teaspoon paprika

3/4 teaspoon garlic powder

dash of cayenne pepper (optional!)

salt to taste

Preheat your oven to 400 degrees and line a baking sheet with foil.

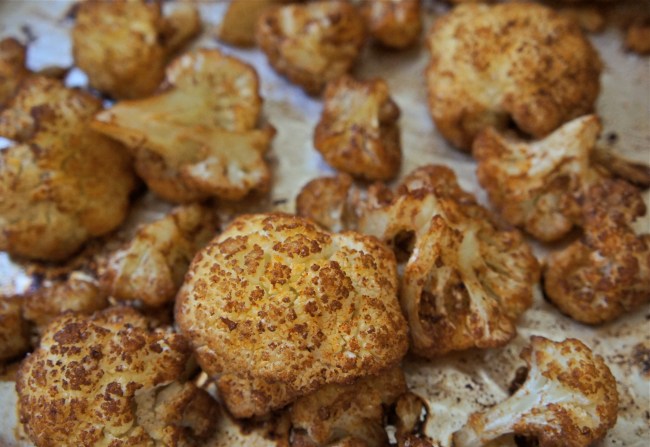
First toss your cauliflower with just the melted fat – toss in a bowl for at least a couple of minutes so it covers the cauli well. Then, mix your cocoa powder and paprika in a little bowl and sprinkle it on the cauliflower- Toss until evenly coated and distributed.  Then sprinkle the garlic powder and salt on cauliflower – as much or as little as you’d like!  I was not shy with the garlic.  Then I added just a dash of cayenne for some very subtle heat.  Toss cauliflower one more time to coat evenly.

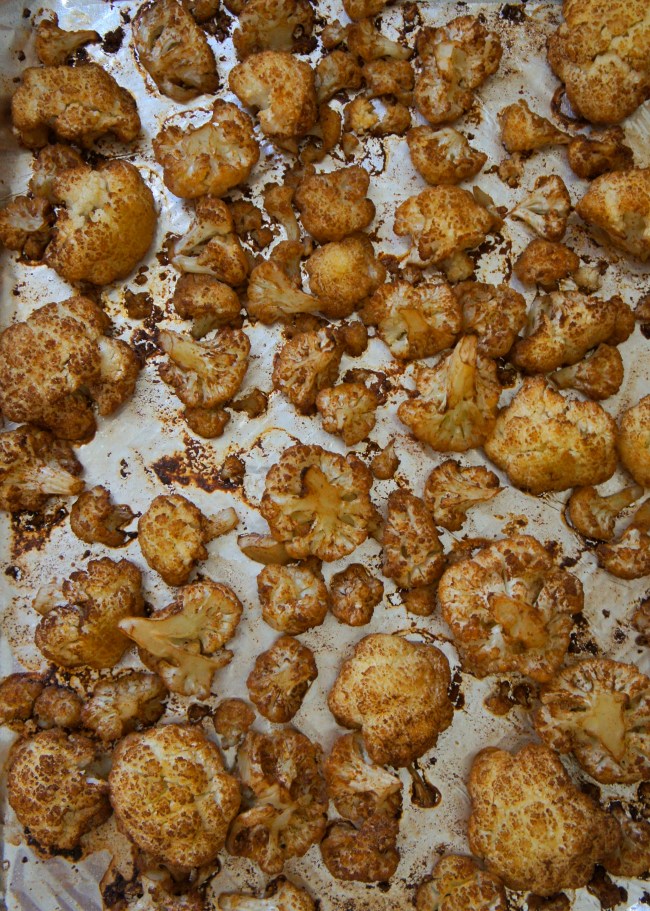
Spread this out on your baking sheet and pop in the oven until they get some color – 25-30 minutes, but stir them up halfway through to make them cook more evenly.

*NOTE* – the cocoa powder does not make the cauliflower taste at all chocolatey or dessert-like.  The cocoa powder gives it a really deep and complex flavor, similar to what it does for Mexican Mole.  Go ahead and splurge for a container of unsweetened cocoa powder!  I use it in other savory dishes and every Paleo Chocolate treat that I make!

YUM!

Image


Leave a comment

Substitutions!!!

Let’s talk a bit about substitutions!!!   This is what got me excited about paleo-cooking/eating in the first place!  How can I take something blatantly non-paleo and make it paleo!?  Because of my Italian upbringing, an easy place for me to start was with Italian food.  Now I know what you’re thinking — Italian = CHEESE!!!  Sorry to disappoint, but in terms of greasy, melty, stretchy mozzarella on top of chicken parm, there is no paleo replacement 😦   What I’m talking about is more along the lines of breading, meatballs and pasta.

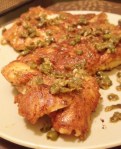
If you haven’t already realized this, nuts are HUGE part of paleo cooking and especially when it comes to substitutions.  Almond flour and coconut flour are used in the majority of baked goods that I make, but the nuts don’t stop there!   When it comes to breading, nuts are key.  And if you use the right nuts and the right spices, whatever you’re breading won’t taste super nutty.  You can buy almond and coconut flour (which is just the nut finely ground into a meal or flour) in all health food stores, or you can make your own.  Other ground up items I’ve used to make breading are pecans, walnuts, flax-seed and plantains.  If you want something with a little texture to it, then unsweetened shredded coconut is a great component to a paleo breading!  My pecan-coconut-curry shrimp and haddock piccata are some of my favorite dishes that use a paleo-friendly “breading”.   ** I REALLY need to think of an alternate word for breading – bread is exactly what we’re avoiding here but I can’t think of anything clever at the moment to replace it with!

Haddock Piccata

In terms of meatballs or meatloaf, almond flour works perfectly in place of bread crumbs.  With this substitution you could fool anyone into eating paleo without even knowing it!

Pasta is a fun and controversial substitution topic.  There are actual paleo-friendly pastas out there that you could order online or perhaps find in a specialty food store, but I’m all about practicality and staying economical, as well as getting in extra veggies wherever possible, so I’m not talking about those at the moment.   Most people will tell you spaghetti squash is the way to go for a pasta-like vehicle for your favorite sauces… well let me tell you about my beef with spaghetti squash.

1- it’s like $6-8 for a decent sized one- they’re HUGE (although it does yield a lot of “pasta”)

2- it is SO hard to cut in half… even if I cook it for a bit beforehand it is almost impossible to cut into and I almost stab myself

3- it takes FOREVER to cook, unless you use the microwave which changes the finished product for the worse

4- after all that work and time, it tastes too squashy and sweet and really can’t compete with many of the sauces you’d put it with.

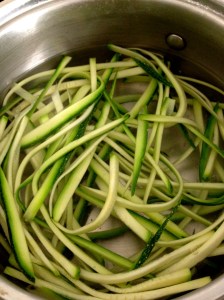
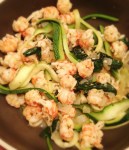
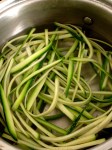
I’m not completely against spaghetti squash, but there’s a time and a place.  I think it works okay with creamy, strongly-flavored sauces (see photo of Artichoke Lemon Pesto Pasta w/Chicken – thank you Juli Bauer!)  My pasta substitution of choice is zoodles!!!  Its a noodle made from zucchini!  How FUN!  And so much easier to make, plus way less time consuming.  They also have a much milder taste than spaghetti squash so they pair better with more mellow sauces.  The only trick here is that you need 1 of 2 tools to make zoodles.  Either a mandoline or a julienne peeler (or spiral vegetable slicer).   With the mandoline you can slice your zucchini into thin, flat strips, then use a knife to cut to the thickness of your choice.  With a julienne or spiral slicer they basically do all the work for you.  Both are easy.  Only sort of downside is that when doing this with your zucchini, you kind of have to stop once you hit seeds because the noodle will break apart once the seeds are involved – so think of a delicious and creative way to repurpose the middle of your zucchini!  I have a few photos up of dishes that involve zoodles – Zoodles with meatsauce, shrimp scampi and langostino tail scampi – but the options are endless!

Zoodles!

So those are my favorite, and Italian-ish substitutions, but that is barely a dent into the world of paleo-friendly substitutions!  Here are some other favorites of mine –

Coconut oil and/or ghee instead of butter for sauteing and in recipes

Bacon grease for frying or sauteing

Pumpkin puree or overripe bananas in baked goods instead of oil

Coconut milk instead of regular milk in curries

Cauliflower mash instead of mashed potatoes AND cauliflower rice instead of traditional rice

…and the list goes on!  Anyone have any favorite substitutions that I’ve forgotten??

Past Creations – Some Food Pics for Your Viewing Pleasure :)

1 Comment

All dishes are paleo/primal unless otherwise noted in the caption.  Enjoy!

*See very bottom for recipe credit links 🙂
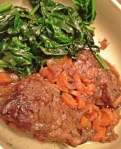
[click photo to enlarge]


RECIPE CREDITS:

Brownies – http://civilizedcavemancooking.com/recipes/desserts/paleo-brownies-double-chocolate/

Artichoke Lemon Pasta – http://paleomg.com/artichoke-lemon-pesto-chicken-pasta/

Magic Brownie Bars – http://paleomg.com/magic-brownie-bars/

Italian Meatloaf – http://paleomg.com/italian-meatloaf/

Balsamic Beef Roast- http://civilizedcavemancooking.com/recipes/beef/crock-pot-balsamic-roast/

Apple Cinn cookies  – http://nomnompaleo.com/post/5332432340/civilized-cavemans-apple-cinnamon-cookies

Favorite Chili- http://theclothesmakethegirl.com/2009/02/22/my-favorite-chili-recipe/

Apple Bacon Rosemary Burgers – http://paleomg.com/paleo-apple-and-bacon-rosemary-pork-burgers/

Rosemary Garlic Bread –  http://masteringtheartofpaleocooking.wordpress.com/2011/02/10/rosemary-garlic-bread/

Choc Cherry Scones http://nomnompaleo.com/post/38369819679/grain-free-dark-chocolate-cherry-scones

This gallery contains 60 photos